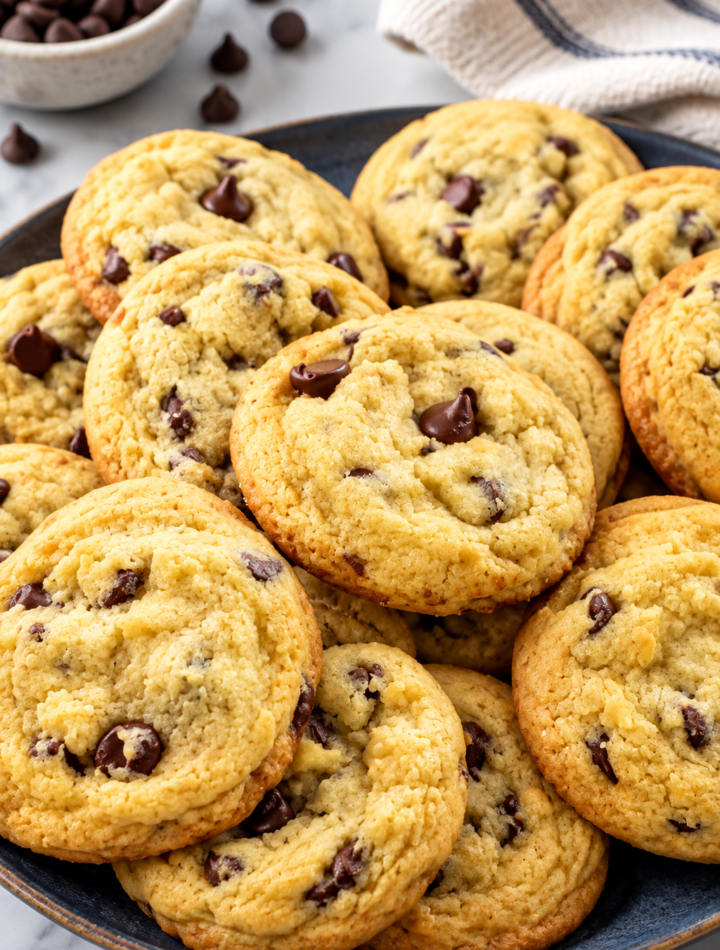
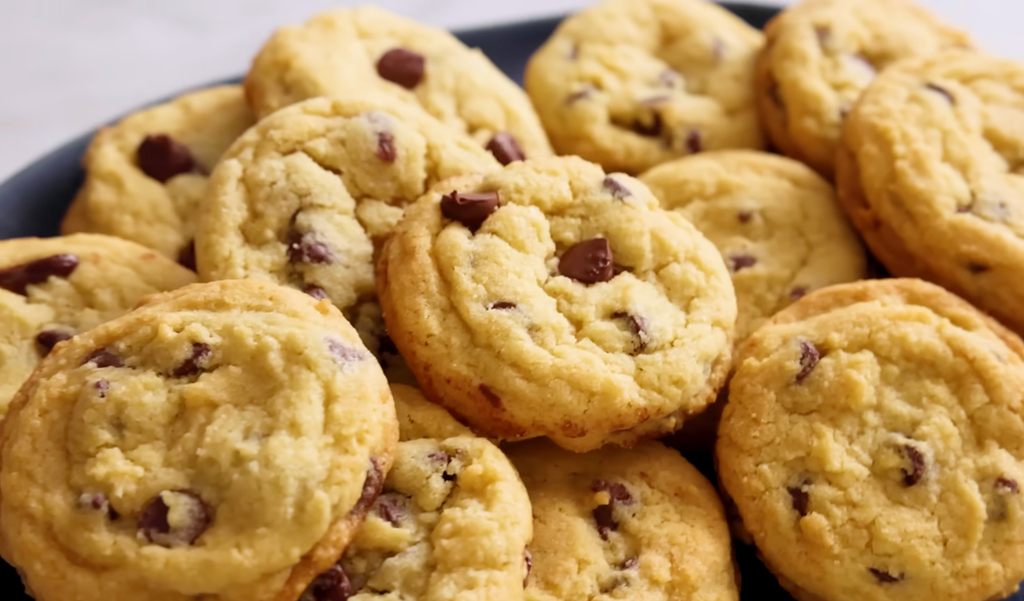
Few homemade desserts disappear as quickly as a fresh batch of chocolate chip cookies. The best ones have golden, lightly crisp edges, a soft and chewy middle, and plenty of melted chocolate chips scattered through every bite. This Chocolate Chip Cookie Recipe is designed to give you that classic bakery-style texture without requiring complicated ingredients or special equipment.
The recipe uses a combination of brown sugar and granulated sugar for balanced sweetness and a chewy center. Softened butter brings richness, while vanilla adds warmth to the flavor. Semi-sweet chocolate chips make sure the cookies taste chocolatey without becoming overwhelmingly sweet.
You can prepare the dough in advance, chill it for thicker cookies, or bake it immediately when you are craving something warm and homemade. The recipe makes approximately 24 cookies, making it a convenient choice for family gatherings, parties, lunchboxes, bake sales, or a simple weekend baking project.
Why This Chocolate Chip Cookie Recipe Works
A good chocolate chip cookie isn’t just about adding chocolate chips to cookie dough. Small choices during preparation can change the final texture considerably.
This recipe combines several ingredients that work together:
Brown sugar adds moisture and helps create a chewy texture.
Granulated sugar contributes sweetness and encourages lightly crisp edges.
Softened butter gives the cookies their rich, buttery flavor.
Eggs help bind the dough while contributing moisture and structure.
Vanilla extract adds depth to the overall flavor.
Baking soda helps the cookies spread and brown properly.
Semi-sweet chocolate chips provide plenty of chocolate in every bite.
A short chilling period can help produce thicker cookies with less spreading.
The result is a cookie that has a pleasant contrast between the outside and center instead of being completely crisp or completely soft.
Ingredients for Chocolate Chip Cookies
This recipe makes about 24 cookies.
Dry Ingredients
2¼ cups (280 g) all-purpose flour
1 teaspoon baking soda
½ teaspoon salt
Wet Ingredients
1 cup (225 g) unsalted butter, softened
¾ cup (150 g) packed brown sugar
½ cup (100 g) granulated sugar
2 large eggs
2 teaspoons vanilla extract
Chocolate
2 cups (340 g) semi-sweet chocolate chips
These ingredients are simple, but measuring them accurately makes a noticeable difference.
Choosing the Right Butter
Use unsalted butter that has been softened to room temperature.
Softened butter should be easy to press with a finger while still holding its shape. It shouldn’t be melted or oily.
If the butter is too cold, it won’t combine smoothly with the sugars. If it’s melted, the finished cookies may spread more than expected.
A practical method is to take the butter out of the refrigerator ahead of time and allow it to soften naturally.
Brown Sugar vs. Granulated Sugar
This recipe uses both types of sugar for a reason.
Brown sugar contains more moisture than regular granulated sugar, helping create a softer and chewier cookie. Granulated sugar contributes sweetness and helps with browning and crispness around the edges.
Using only one type of sugar can produce a different texture, so keeping the combination gives you a better balance between chewy centers and golden edges.
How to Make Chocolate Chip Cookies
Step 1: Prepare the Dry Ingredients
Add the all-purpose flour, baking soda, and salt to a medium-sized bowl.
Whisk them together thoroughly.
This distributes the baking soda and salt throughout the flour so you don’t end up with concentrated pockets of either ingredient.
Set the bowl aside.
Important Tip
Don’t skip this step by simply dumping all the dry ingredients into the wet mixture separately. Combining them first makes it easier to distribute the ingredients evenly.
Step 2: Cream the Butter and Sugars
Add the softened butter, brown sugar, and granulated sugar to a large mixing bowl.
Beat the mixture until the butter and sugars are creamy and well combined.
The mixture should look lighter and smoother than when you started.
You don’t need to beat it endlessly. Once the butter and sugars are properly incorporated, move on to the eggs.
Why This Step Matters
The texture of the butter mixture affects how the cookies spread and bake. Starting with properly softened butter makes the mixing process much easier.
Step 3: Add the Eggs and Vanilla
Add one egg to the butter-and-sugar mixture and mix until incorporated.
Add the second egg and mix again.
Pour in the vanilla extract and continue mixing until the ingredients are evenly combined.
The mixture should look smooth and creamy.
If it looks slightly loose at this stage, that’s normal. The flour will give the dough its final structure.
Step 4: Add the Dry Ingredients
Gradually add the flour mixture to the butter mixture.
Mix gently until the dry ingredients are just incorporated.
This is one of the most important points in the entire recipe.
Do not overmix the dough.
Once you no longer see obvious streaks of flour, stop mixing.
Overworking cookie dough can affect the final texture, so there’s no benefit to continuing once everything has come together.
Step 5: Fold in the Chocolate Chips
Add the semi-sweet chocolate chips.
Use a spatula or wooden spoon to gently fold them through the dough.
Try to distribute the chocolate evenly so each cookie receives a generous amount.
If you want a more attractive finish, reserve a small handful of chocolate chips and press them onto the tops of the dough portions before baking.
Step 6: Chill the Dough
Chilling is optional, but it is highly recommended if you prefer thicker cookies.
Place the dough in the refrigerator for about 30 minutes.
Chilling firms up the butter and makes the dough easier to scoop. It can also help reduce excessive spreading during baking.
If your kitchen is particularly warm, chilling becomes even more useful.
Step 7: Shape the Cookies
Line a baking sheet with parchment paper.
Scoop approximately tablespoon-sized portions of dough and arrange them on the prepared sheet.
Leave enough space between the dough portions because the cookies will spread as they bake.
For the most consistent results, try to make the dough portions similar in size.
Uneven portions can cause some cookies to finish baking before others.
Step 8: Bake the Cookies
Preheat your oven to 350°F (175°C).
Place the baking sheet in the oven and bake for approximately 10–12 minutes.
Watch the edges closely.
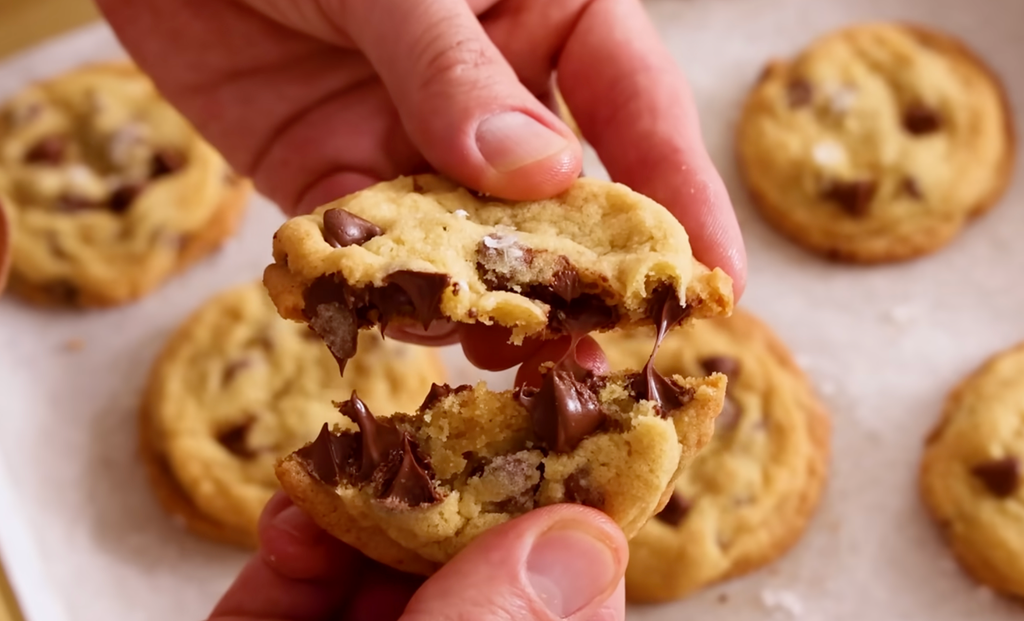
The cookies should have lightly golden edges while the centers can still look somewhat soft.
Don’t wait until the entire cookie looks completely firm and deeply browned.
The cookies will continue to set as they cool.
Step 9: Cool Before Serving
Allow the cookies to rest on the baking sheet for several minutes after removing them from the oven.
They will be delicate when they’re hot, so moving them immediately can cause them to break.
Once they’ve firmed slightly, transfer them to a wire rack to finish cooling.
If you’re serving them warm, give them enough time to become sturdy while still retaining that soft center.
Cooking Mistakes to Avoid
Even a straightforward cookie recipe can go wrong when a few small details are overlooked.
- Melting the Butter
This recipe calls for softened butter, not melted butter.
Melted butter changes the consistency of the dough and can cause excessive spreading.
Better approach: Let the butter soften naturally until it is pliable but not liquid.
- Adding Too Much Flour
Extra flour is one of the easiest ways to end up with dense, dry cookies.
If you’re measuring with cups, don’t press the flour firmly into the measuring cup.
For the most consistent result, use the stated 280 g measurement when possible.
- Overmixing After Adding Flour
Once the flour has been incorporated, stop mixing.
There’s no need to beat the dough until it becomes perfectly smooth. A little restraint here helps preserve a softer cookie texture.
- Skipping the Chocolate Distribution
Don’t simply pour the chocolate chips into one spot and give the dough a few quick stirs.
Fold them through carefully so the chocolate is spread throughout the dough.
Nobody wants to bite into a cookie with no chocolate.
- Crowding the Baking Sheet
Cookies need room to spread.
If the dough portions are placed too close together, several cookies can merge during baking.
Use multiple baking sheets or bake in batches if necessary.
- Baking Until Completely Brown
A common mistake is waiting for the centers to look completely baked before removing the cookies.
By then, the edges may already be too dark.
Look for golden edges and softer-looking centers.
- Baking on a Hot Baking Sheet
If you’re preparing another batch while the first one is baking, don’t place fresh dough onto a piping-hot baking sheet.
The heat can begin melting the butter before the cookies enter the oven.
Allow the baking sheet to cool first.
Tips for Soft and Chewy Chocolate Chip Cookies
Chill the Dough
A 30-minute chill can help produce thicker cookies and make the dough easier to handle.
Don’t Overbake
For a softer middle, remove the cookies when the edges are golden and the centers still look slightly soft.
Use Good Chocolate
Chocolate is a major part of the recipe. Semi-sweet chocolate chips provide a good balance between sweetness and cocoa flavor.
Keep the Cookies Similar in Size
Consistent dough portions help the cookies bake at approximately the same rate.
Add Extra Chocolate on Top
Press a few chocolate chips onto the tops of the dough balls before baking. This gives the finished cookies a more chocolate-filled appearance.
How to Tell When Chocolate Chip Cookies Are Done
Cookie doneness can be difficult to judge because they continue cooking slightly after leaving the oven.
Look for these signs:
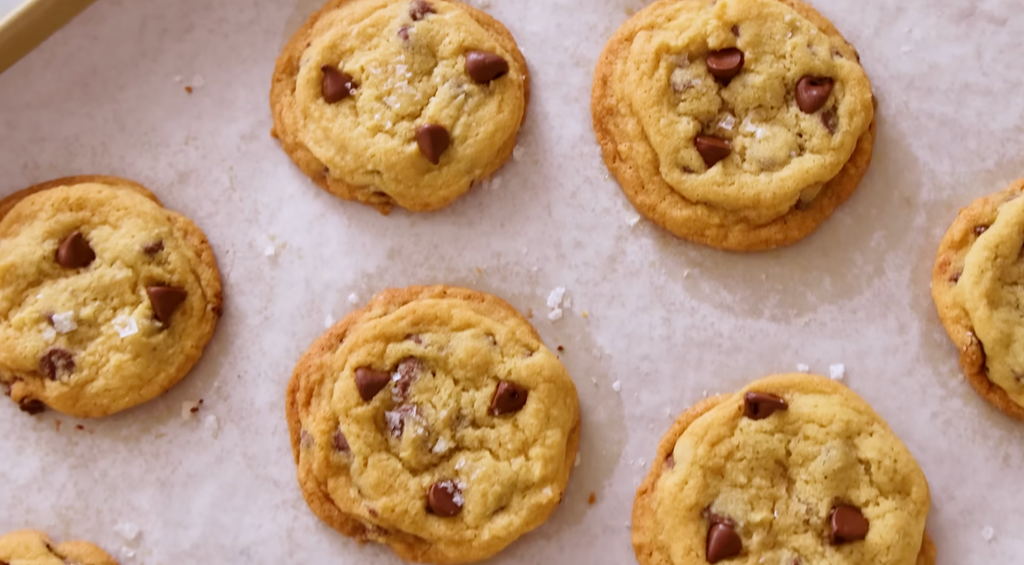
Edges are lightly golden.
Centers look set but remain soft.
Cookies have spread naturally.
The surface is no longer wet-looking.
Chocolate chips are glossy and softened.
If you wait until the cookies are dark brown across the entire surface, they may become crisp rather than soft and chewy.
How to Store Chocolate Chip Cookies
Allow the cookies to cool completely before storing them.
Place them in an airtight container and keep them at room temperature.
They can be stored for up to 5 days, according to the recipe information provided.
Avoid leaving the container open for extended periods because exposure to air can cause the cookies to lose moisture and become harder.
If you want to keep the cookies soft, an airtight container is especially important.
Can You Make the Cookie Dough Ahead?
Yes.
Preparing cookie dough ahead of time is a convenient option when you want freshly baked cookies without doing all the preparation at once.
After making the dough, portion it into individual cookie-sized pieces before chilling or freezing.
This makes it easier to bake only the amount you need.
For a busy schedule, pre-portioned dough can be particularly useful for weekend baking, unexpected guests, or family desserts.
Chocolate Chip Cookie Variations
The basic recipe is delicious on its own, but you can change the flavor with a few simple additions.
Dark Chocolate Cookies
Replace some or all of the semi-sweet chocolate chips with dark chocolate chips for a deeper chocolate flavor.
Milk Chocolate Cookies
Milk chocolate chips create a sweeter, creamier cookie.
Chocolate and Nut Cookies
Add chopped walnuts or pecans for extra crunch.
Sea Salt Chocolate Chip Cookies
Sprinkle a small amount of flaky salt over the cookies immediately after baking for a sweet-and-salty combination.
Double Chocolate Cookies
For a more intense chocolate dessert, incorporate cocoa powder into a suitable cookie dough variation and use chocolate chips throughout.
What to Serve With Chocolate Chip Cookies
Fresh chocolate chip cookies pair naturally with cold milk, but you have plenty of other choices.
Try serving them with:
Cold milk
Coffee
Hot chocolate
Vanilla ice cream
Fresh berries
Whipped cream
For a quick dessert, place a warm cookie in a bowl and top it with vanilla ice cream. The contrast between the warm cookie and cold ice cream makes a simple dessert feel much more special.
Are These Cookies Good for Parties?
Absolutely.
Since this recipe makes approximately 24 cookies, it works well for casual gatherings and dessert tables.
You can prepare the dough ahead of time, chill it, and bake the cookies closer to serving time.
For parties, make the cookies a consistent size so the entire batch has a uniform appearance.
A platter of freshly baked chocolate chip cookies also works well for birthdays, family gatherings, potlucks, school events, and holiday dessert tables.
Frequently Asked Questions
How many cookies does this recipe make?
This recipe makes approximately 24 cookies when the dough is divided into tablespoon-sized portions.
Why should I chill chocolate chip cookie dough?
Chilling firms the butter in the dough and can help reduce spreading. It can also make the dough easier to handle and help produce thicker cookies.
Can I use salted butter?
The recipe is written for unsalted butter so the salt level can be controlled separately. If you substitute salted butter, keep in mind that the overall saltiness may change.
Why did my cookies spread too much?
Possible reasons include butter that was too warm or melted, a very warm kitchen, insufficient chilling, or a difference in ingredient measurements.
Try chilling the dough for about 30 minutes before baking.
Why are my cookies dry?
Overbaking and adding too much flour are common causes. Measure the flour carefully and remove the cookies once the edges are golden while the centers remain slightly soft.
Can I use other chocolate chips?
Yes. Semi-sweet chocolate chips are recommended for this recipe, but you can experiment with dark or milk chocolate depending on your preferred sweetness.
Can I freeze the cookie dough?
Portioning the dough before freezing makes it more convenient to bake later. Keep the portions well wrapped and protected from air to help maintain quality.
Recipe at a Glance
Recipe: Chocolate Chip Cookies
Prep Time: About 15 minutes
Chill Time: 30 minutes, optional
Cook Time: 10–12 minutes
Total Time: About 30–45 minutes, depending on chilling
Yield: 24 cookies
Oven Temperature: 350°F (175°C)
Why Homemade Chocolate Chip Cookies Are Worth Making
Store-bought cookies can be convenient, but homemade cookies give you control over texture, chocolate quantity, sweetness, and freshness.
You can decide whether you want them slightly thicker, add extra chocolate chips to the tops, or serve them while they’re still warm from the oven.
The recipe also doesn’t require unusual ingredients. Flour, butter, sugars, eggs, vanilla, baking soda, salt, and chocolate chips are enough to create a batch of cookies that feels homemade rather than overly complicated.
The most important part is paying attention to the details: use softened rather than melted butter, measure the flour carefully, avoid overmixing, give the cookies enough room on the baking sheet, and don’t overbake them.