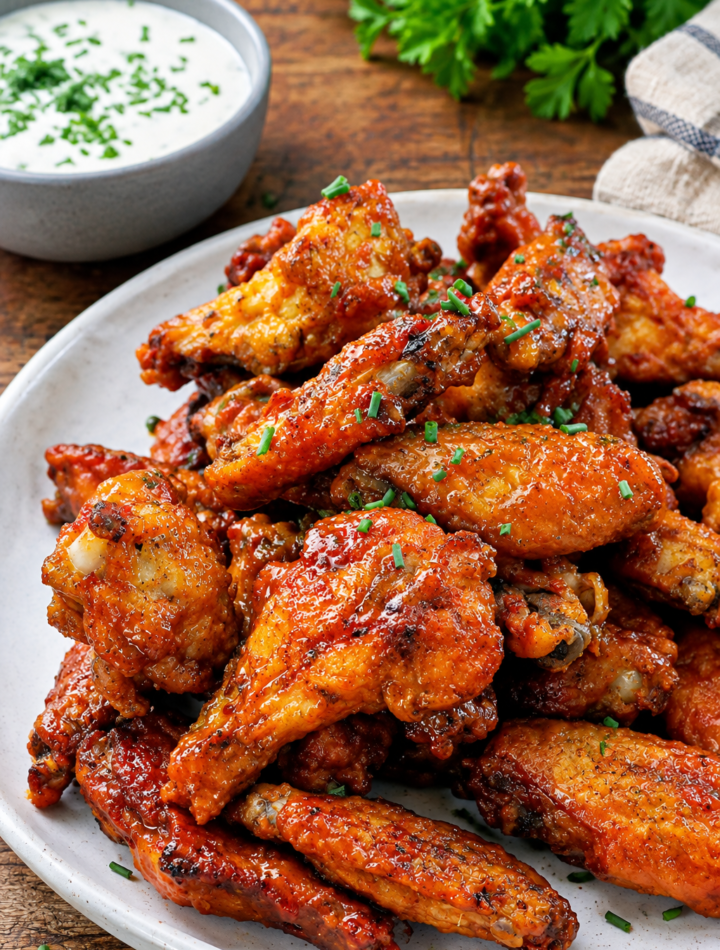
If you love chicken wings with a crisp exterior and a sticky, flavorful coating, this Chicken Wings Recipe is made for casual dinners, game-day spreads, and weekend cravings. The wings are seasoned with garlic, onion, paprika, chili, black pepper, and salt before being baked or air-fried until crisp. They are then tossed in a quick hot sauce, honey, butter, soy sauce, and garlic glaze.
The best part is that you don’t need a deep fryer. A baking rack helps hot air circulate around the wings, giving them a better chance of developing that desirable crisp surface.
Why This Chicken Wings Recipe Works
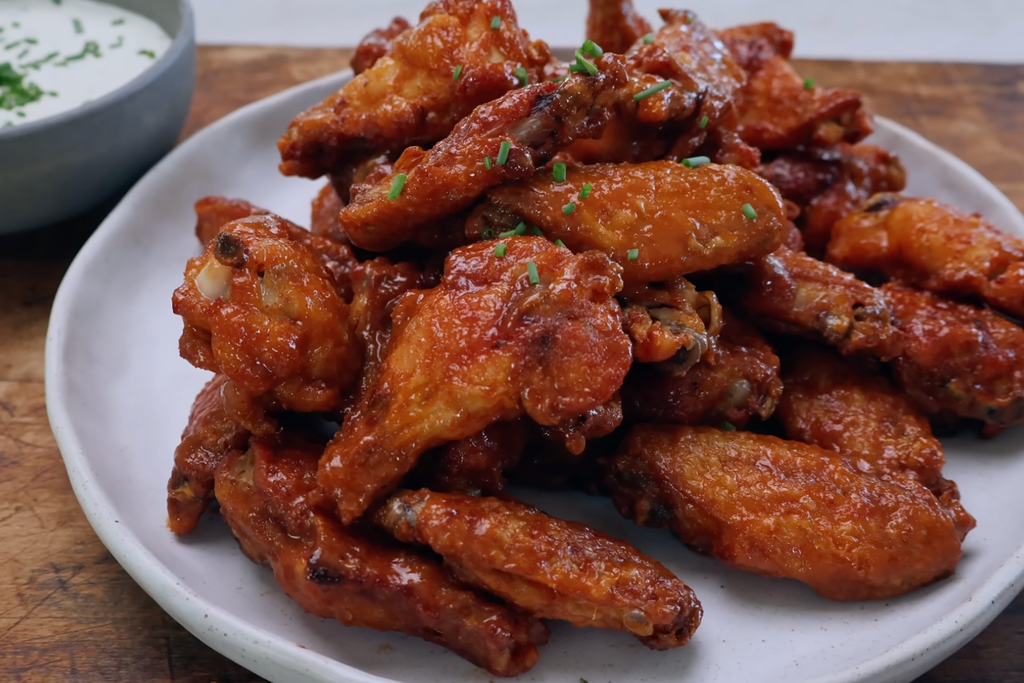
The key to good wings starts before they reach the oven. Drying the chicken thoroughly allows the seasoning to cling properly and helps reduce excess surface moisture.
The wings are coated with a straightforward spice mixture, cooked until crisp, and finished with a sweet-and-spicy sauce. The result is a combination of crunchy edges, tender chicken, and a glossy coating that brings everything together.
This recipe also gives you two cooking options: oven-baked chicken wings or air fryer chicken wings.
Ingredients
For the Chicken Wings
1 kg chicken wings
1 tablespoon olive oil
1 teaspoon garlic powder
1 teaspoon onion powder
1 teaspoon paprika
½ teaspoon chili powder
½ teaspoon black pepper
1 teaspoon salt
For the Sauce
3 tablespoons hot sauce
2 tablespoons honey
1 tablespoon butter
1 teaspoon soy sauce
1 garlic clove, minced
The seasoning quantities are designed to give the wings a noticeable savory and mildly spicy flavor without relying on a long list of ingredients.
How to Make Crispy Chicken Wings
- Pat the Wings Completely Dry
Place the chicken wings on a clean surface and use paper towels to remove as much surface moisture as possible.
This step is easy to skip, but it matters. Wet wings can struggle to develop a crisp exterior during baking or air frying.
- Season the Chicken
Put the dried wings into a large bowl.
Add olive oil, garlic powder, onion powder, paprika, chili powder, black pepper, and salt. Toss thoroughly until the seasoning coats the wings from all sides.
Try to separate pieces that are sticking together so the seasoning reaches the exposed surfaces.
- Arrange the Wings
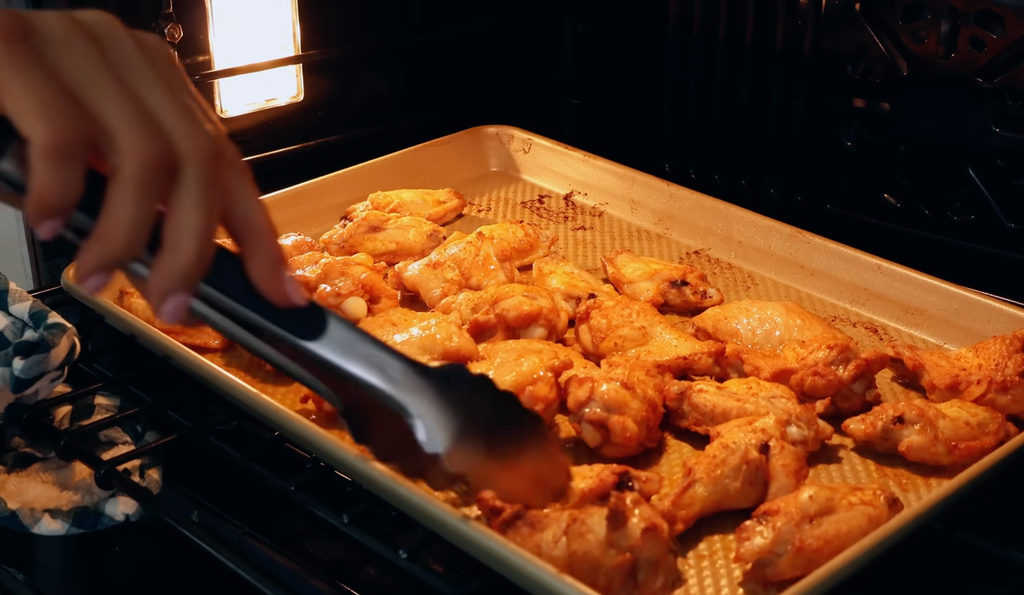
For the oven method, place a baking rack over a baking tray and arrange the wings in a single layer.
Keeping the wings elevated allows hot air to move around them instead of leaving one side sitting directly against the tray.
- Bake Until Crisp
Preheat the oven to 400°F (200°C).
Bake the wings for approximately 35–40 minutes, turning them as needed for more even browning.
Cooking time can vary depending on the size of the wings and your oven. The chicken should be cooked through, and for food safety, check that the thickest part reaches 165°F (74°C) with a food thermometer.
- Air Fryer Option
If you’re using an air fryer, arrange the wings without overcrowding the basket.
Cook at 400°F (200°C) for approximately 20–25 minutes, turning during cooking so the wings brown more evenly.
Because air fryers differ in size and performance, start checking toward the end of the suggested cooking time.
Make the Hot Honey Garlic Sauce
While the wings are cooking, prepare the sauce.
Melt the butter in a small pan over medium heat. Add the minced garlic and cook for about 30 seconds, just until fragrant.
Add the hot sauce, honey, and soy sauce. Stir well and let the mixture simmer gently for 2–3 minutes.
You want a cohesive sauce rather than a rapidly boiling mixture. If it becomes too thick, remove it from the heat promptly.
Toss the Wings in the Sauce
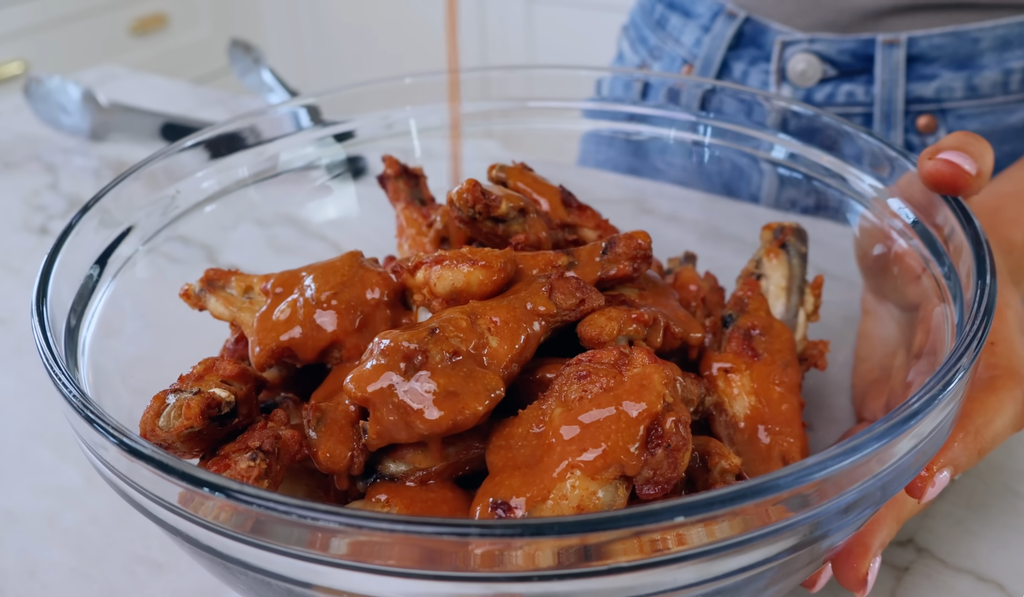
When the wings are cooked and crisp, transfer them to a large bowl.
Pour over the warm sauce and toss until the wings are evenly coated.
Serve immediately while the exterior is still crisp.
For a simple finishing touch, add chopped parsley or another fresh herb if you have some available.
Important Pointers for Better Chicken Wings
Dry the Chicken Before Seasoning
This is one of the most useful steps in the entire recipe. Excess moisture on the wings can interfere with browning and crisping.
Use a Baking Rack
For oven-baked wings, a rack creates space underneath the chicken. This helps hot air reach more of the surface.
Don’t Crowd the Pan
Give the wings some space. If they’re packed tightly together, steam can build up between the pieces and leave you with softer skin.
Turn the Wings
Turning the wings during cooking encourages more even browning, particularly when using a standard oven.
Sauce Them After Cooking
The sauce is best added after the wings have developed their crisp exterior. Baking sauced wings from the beginning can make the coating wetter and less crisp.
Cooking Mistakes to Avoid
- Skipping the Drying Step
Don’t season dripping-wet wings and expect the same crisp result. Pat them dry first.
- Overloading the Baking Tray
A crowded tray traps moisture. Arrange the wings in one layer with room between the pieces.
- Using Excessive Oil
The recipe only calls for one tablespoon of olive oil. Adding much more isn’t necessary and can leave the wings greasy.
- Burning the Garlic
Garlic cooks quickly. When making the sauce, give the minced garlic only a short time in the butter before adding the remaining ingredients.
- Making the Sauce Too Hot
A strong simmer isn’t required. Keep the sauce over moderate heat so the honey doesn’t scorch and the garlic doesn’t become bitter.
- Tossing Too Early
Wait until the wings are fully cooked and crisp before adding the sauce. Otherwise, the coating can soften during the remaining cooking time.
- Relying Only on Color
Golden-brown skin is a useful visual clue, but it isn’t a substitute for checking chicken’s internal temperature. Use a food thermometer when possible.
How to Make the Wings Less Spicy
The hot sauce contributes much of the heat, while chili powder adds another layer of spice.
For a milder batch,reduce the hot sauce and chili powder. You can maintain the honey and butter portions to keep the sauce rounded and glossy.
For more heat, increase the hot sauce gradually rather than adding a large amount at once.
How to Store Leftover Chicken Wings
Allow leftover wings to cool and place them in an airtight container.
Refrigerate promptly and use within 3–4 days for best quality.
Keep the sauce-coated wings separate from other foods in the refrigerator to prevent the sauce from spreading onto them.
Reheating Instructions
For the best texture, the oven or air fryer is preferable to the microwave.
Oven
Preheat the oven to 375°F (190°C). Place the wings on a baking sheet and heat until they’re hot throughout and the exterior has regained some crispness.
Air Fryer
Place the wings in the air fryer in a single layer. Reheat at approximately 375°F (190°C) until heated through and lightly crisp.
Microwave
The microwave is the quickest option, but the skin will be softer. Heat in short intervals until hot throughout.
Avoid repeatedly reheating the same batch, as the chicken can become dry.
What to Serve With Chicken Wings
These wings work especially well with sides that balance their spicy, savory coating.
Try serving them with:
Creamy ranch or herb dip
Fresh vegetable sticks
Coleslaw
Potato wedges
Simple green salad
Roasted vegetables
Corn on the cob
For a party platter, arrange the wings alongside a dipping sauce and crunchy vegetables.
Frequently Asked Questions
Can I make chicken wings without a deep fryer?
Yes. This recipe is designed for oven baking or air frying, so a deep fryer isn’t necessary.
Why aren’t my wings crispy?
The most common issues are excess moisture, overcrowding, and adding sauce before the wings have finished cooking. Pat the wings dry and give them enough space during cooking.
Can I prepare the wings ahead of time?
You can season the wings ahead of cooking and keep them refrigerated. For the best texture, cook them close to serving time and toss them with sauce afterward.
Can I change the sauce?
Yes. Adjust the hot sauce and honey to suit your preferred balance of heat and sweetness.
Recipe at a Glance
Recipe: Crispy Chicken Wings
Prep Time: 15 minutes
Cook Time: 35–40 minutes
Total Time: About 55 minutes
Servings: 3–4
Oven Temperature: 400°F (200°C)
Air Fryer: 400°F (200°C) for approximately 20–25 minutes